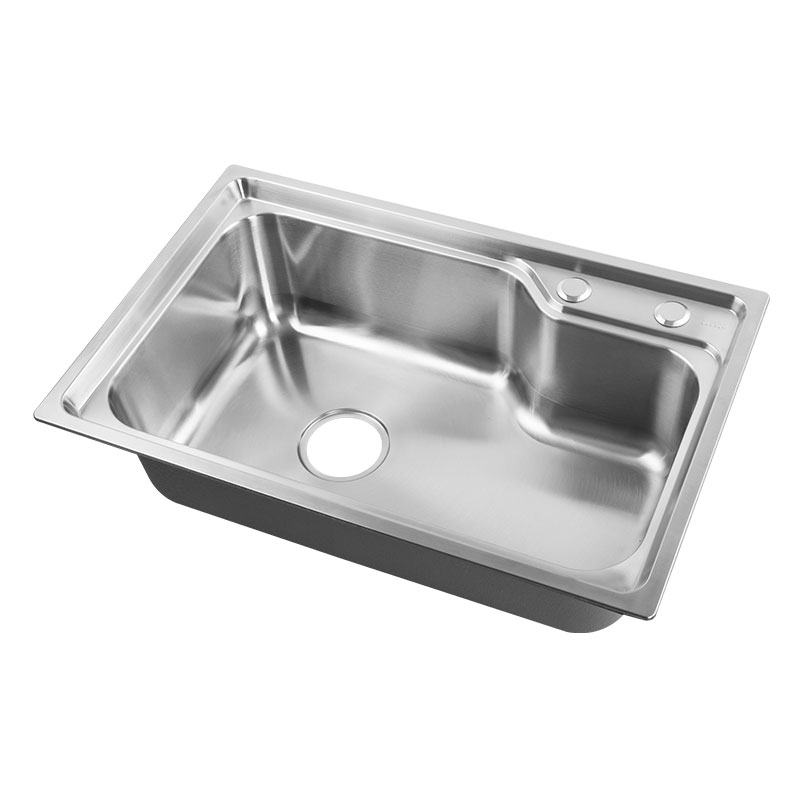
Discovering a hole in your Stainless Steel Sink can be concerning. As a supplier of high-quality sinks, we understand that damage can occur from years of heavy use, accidental impact, or persistent exposure to corrosive substances. While significant damage may require a full sink replacement, smaller holes and leaks can often be effectively repaired. This practical guide outlines two primary methods: using a two-part epoxy putty for very small holes and a more permanent solution with a cold weld compound and a patch.
Important Safety Note: Always wear safety glasses and nitrile gloves during any repair. Work in a well-ventilated area.
Method Assessment:
Hole Size: These methods are suitable for holes up to approximately 1/4 inch (6 mm) in diameter. Larger holes compromise the structural integrity of the sink and typically require professional replacement.
Leak Location: The repair must be performed from the underside of the sink if the hole is leaking. A dry surface is critical for adhesion.
Tools and Materials You Will Need:
For Both Methods: Coarse and fine-grit sandpaper (80-grit and 120-grit), rubbing alcohol or acetone, clean cloths, a putty knife or flat blade, a flashlight.
For Epoxy Putty Repair: A high-quality, waterproof two-part epoxy putty stick (e.g., J-B Weld SteelStik or MarineWeld).
For Cold Weld & Patch Repair: Waterproof two-part liquid epoxy or cold weld compound (e.g., J-B Weld ClearWeld) and a small, thin patch of stainless steel, fiberglass cloth, or a large stainless steel washer.
Method 1: Repair with Two-Part Epoxy Putty
This is the simplest method for pinhole leaks and very small holes. It creates a plug that seals the opening.
Step 1: Prepare the Area
Thorough preparation is the most critical step for a successful repair.
Locate the Hole: Use a flashlight to find the exact point of the leak from underneath the sink. Mark it with a marker if necessary.
Dry the Area: Ensure the area is completely dry. Use a hair dryer on a low setting if needed.
Sand the Surface: Using 80-grit sandpaper, aggressively roughen the area around the hole on the underside of the sink. Sand a perimeter of at least one inch around the hole. This creates a mechanical grip for the epoxy.
Clean with Solvent: Wipe the sanded area with a cloth soaked in rubbing alcohol or acetone to remove all dust, grease, and residue. Do not touch the cleaned surface with your bare hands.
Step 2: Mix and Apply the Epoxy Putty
Knead the Putty: Cut off the required amount of epoxy putty. Knead the two parts together until the color is completely uniform.
Apply the Putty: Force the putty firmly into and over the hole. Ensure the entire sanded area is covered and the hole is completely plugged. Smooth the surface with a wet putty knife or your gloved finger to create a clean seal.
Step 3: Cure and Test
Allow to Cure: Let the repair cure for the full time specified by the product’s instructions, typically a minimum of 4-6 hours, preferably 24 hours before getting wet.
Test the Repair: After the cure time is complete, run water into the sink and check from below for any leaks.

Method 2: Repair with Cold Weld Compound and a Patch
This technique provides a stronger, more reinforced repair for slightly larger holes or for added durability.
Step 1: Prepare the Area
Follow the exact same preparation steps as in Method 1: locate, dry, sand (a wider area), and clean with solvent.
Step 2: Prepare the Patch
Select a Patch: Cut a piece of thin stainless steel, fiberglass cloth, or use a stainless steel washer that is larger than the hole.
Prepare the Patch: Sand the side of the patch that will contact the sink to roughen it, and then clean it with solvent.
Step 3: Apply the Epoxy and Secure the Patch
Mix the Compound: Mix the two parts of the liquid epoxy or cold weld compound thoroughly.
Coat the Patch: Apply a generous layer of the mixed epoxy to the prepared side of the patch.
Apply the Patch: Press the patch firmly over the hole, ensuring the epoxy makes full contact with the sink’s surface. The epoxy should ooze out around the edges—smooth this to create a complete seal.
Support During Cure: Use a prop (a piece of wood, a wrench) to hold the patch firmly in place against the underside of the sink for the initial cure period (usually 1-2 hours). Remove the prop and allow the repair to fully cure for 24 hours.
Step 4: Final Finishing
Once fully cured, you can sand the edges of the repair with fine 120-grit sandpaper for a smoother appearance, though this is not necessary for functionality.
Limitations and When to Replace:
These repairs are effective for stopping leaks but are not cosmetic fixes for the top surface of the sink. The repaired area will be visible and may not be smooth. If the sink has multiple holes or is rusting extensively from within, a repair is not a long-term solution. The integrity of the metal is compromised, and replacement with a new, high-quality stainless steel sink is the recommended and safest option.
For a reliable and lasting solution, always start with a sink made from premium, thick-gauge stainless steel. A quality sink, properly installed and maintained, will resist corrosion and withstand daily use for years to come.